Your First Java App
Jakob Jenkov |
In this tutorial you will make your first Java app. I assume that you have already installed the JDK as described here:
In this tutorial I will show you how to make your first Java app with IntelliJ IDEA community edition (free) version 2019.3.3. If you are using a different version of IDEA, or you are using Eclipse, Netbeans, or some other editor or IDE, things may look different from what I show you here. The article about installing the Java SDK also contains links to these Java IDEs.
If you are completely new to Java there will be many concepts you don't understand in this article. Don't worry. Later articles will explain these concepts. The purpose of this article is just to get a working Java program running, so you can make changes to it yourself, as you read the later texts in this tutorial trail.
Start IntelliJ IDEA
First you have to start IntelliJ IDEA. How you do that depends on what operating system you are running (Windows, Mac, Linux etc.)
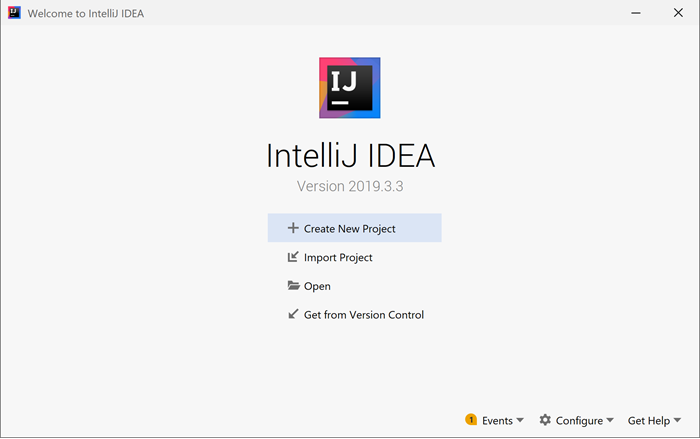
When IntelliJ IDEA is running you will see the IntelliJ IDEA app window which looks like this:
Create a New Project
A Java project is a collection of Java files (and possibly other files) that belong together in a project. For instance, a larger Java program may consist of multiple (hundreds or thousands) of Java files.
In the window that opened when you started IntelliJ IDEA, click the "Create New Project" link / button. The following dialog opens:
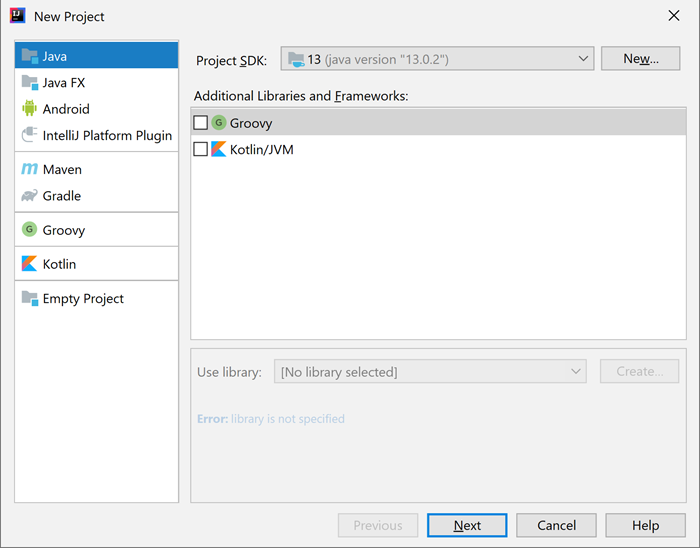
Select "Java" in the left menu. Make sure you choose a valid Java SDK as "Project SDK" in the right side of the dialog. Then click the "Next" button at the bottom of the dialog.
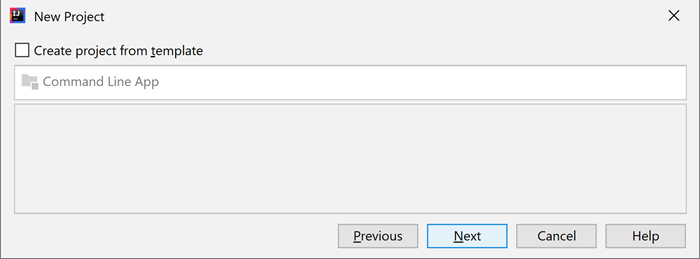
When clicking the "Next" button, the dialog below shows up. Just click the "Next" button at the bottom of this dialog without changing anything.
In the next dialog you are asked to type in a name for your project, and to select a directory on your hard drive where the project files will be stored. You can type in what you think fits your project name and location.
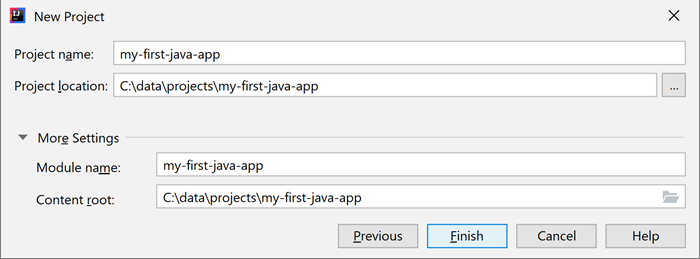
When you have typed in a project name and selected a location, click the "Next" button at the bottom of the dialog.
Your project is now created. You will see a window similar to this:

Create a New Package
Once you have created your new Java project, you need to create a package into which you can put all your Java code. A Java package is just a directory inside which you can put one or more Java files (class, interface, annotation, enum etc. definitions).
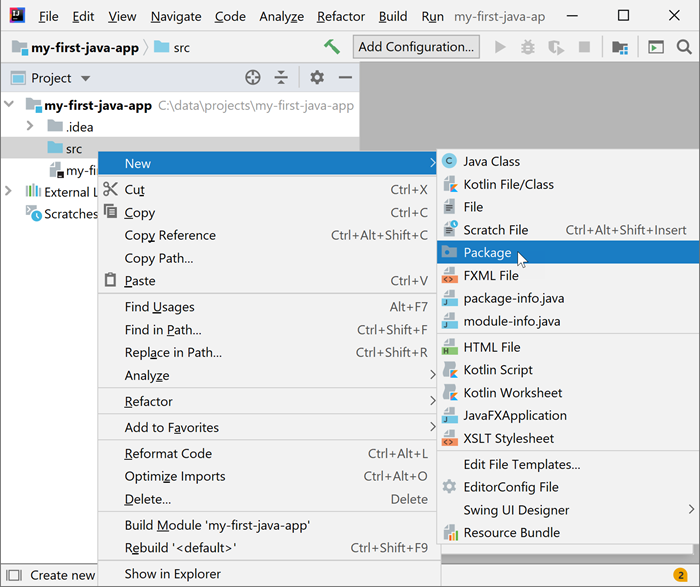
To create a Java package, right click on the "src" directory shown in the left of the project window in IntelliJ IDEA. The name "src" is short for "source", meaning your Java source code (another term for your Java program files). In the right click menu choose "New" and then "Package", as shown in this screenshot:
In the dialog that opens, type in a package name. Package names must be all lowercase characters. After typing in a package name, click the "OK" button.

Create a New Class
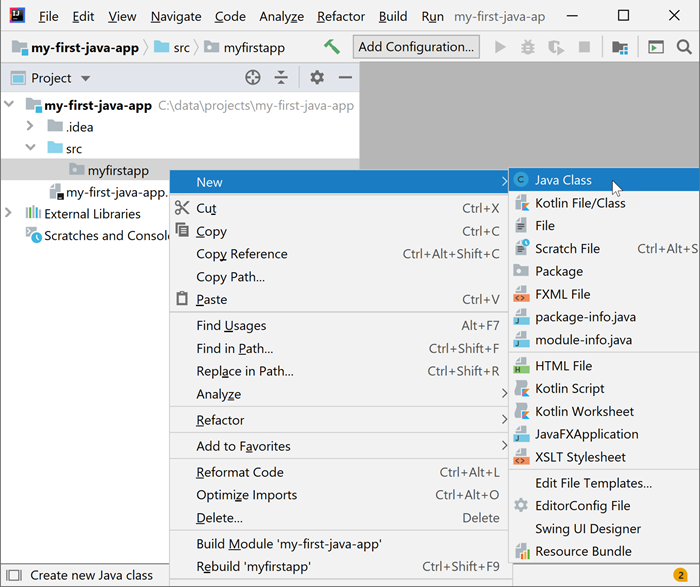
When you have created a new Java package, the package will show up under the "src" directory in the left side of IntelliJ IDEA. Now you must create a new class inside your newly created package. Right click on the Java package and choose "New" and then "Class", as shown in this screen shot:
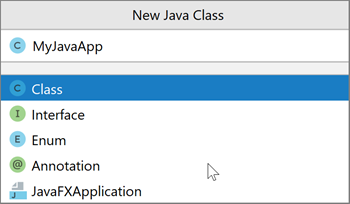
In the dialog that opens, type in a name for your new Java class. It is custom to have class names start with an uppercase character followed by lowercase characters, and a new uppercase character for each new word in the class name. This style is also called "camel case" because the names have bumps like camels. For instance:
When you have typed in a name for your new Java class, click the "OK" button.
Insert a main() Method
Once you have created the new class, it will be empty. It will only contain the text:
package myfirstapp;

public class MyJavaApp {

}
Perhaps there will also be some comments, like:
package myfirstapp;

/*
    Created by...
*/
public class MyJavaApp {

}
The part inside the /* ... */ are comments and are not part of the executed Java code. The
Java compiler ignores it.
Before you can run your Java app you need to insert a main() method into the class. Just make
sure your class looks like this:

Run The main() Method
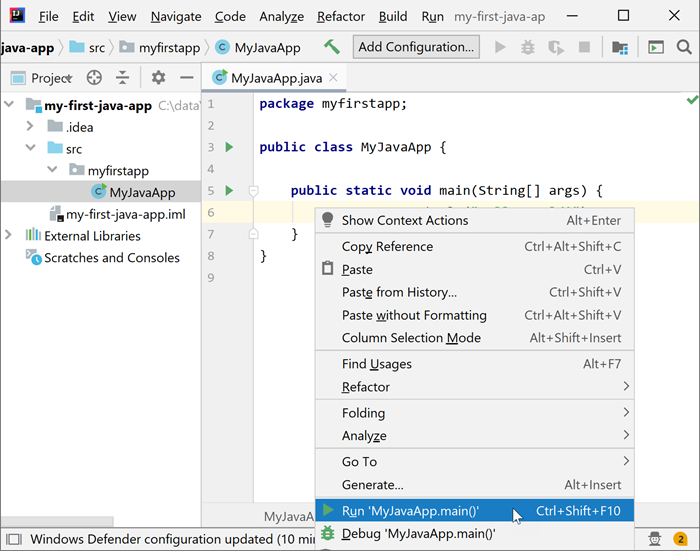
Now your are ready to run your newly created Java class. You do so by right clicking the class source code in the editor, and choose "Run...", like this:
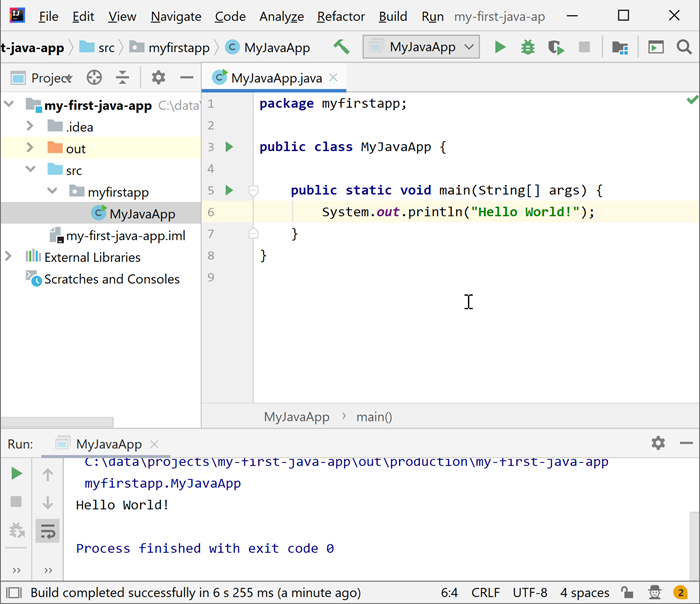
When you click the "Run..." option, IntelliJ IDEA will first compile your Java class, and then run it. After you have executed the Java class main method, you will see an output at the bottom of the IntelliJ IDEA window similar to this:
Don't worry if you don't yet understand what a main() method is, or classes, or packages.
That will be explained in later texts in this tutorial.
| Tweet | |
Jakob Jenkov | |


